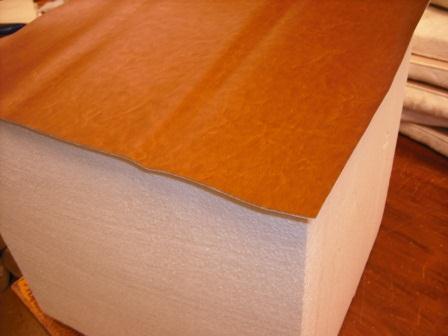


Our guide to preparing and covering the cube Preparing the polystyrene.
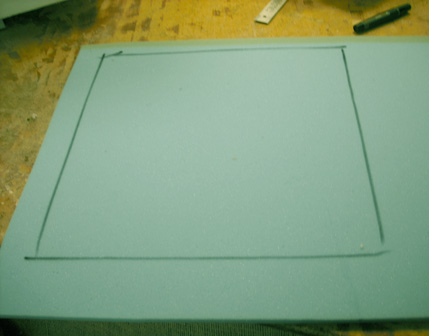
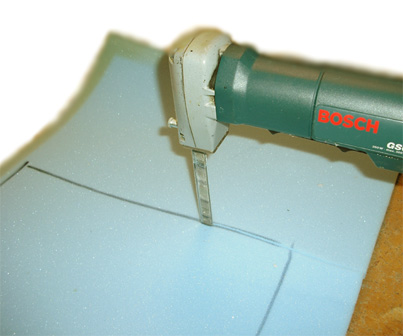
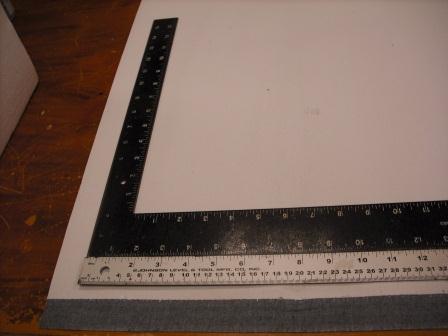
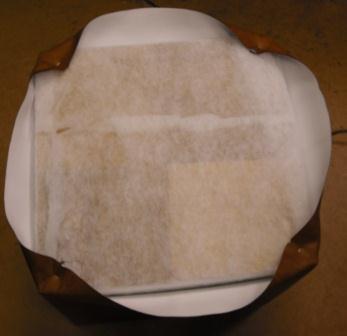
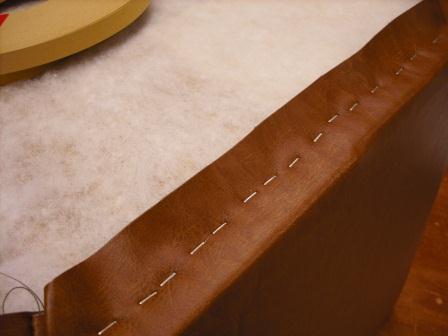
Cut a piece of 1” (25mm) high density upholstery foam (RX39 Blue or similar is fine) to the exact size of the top of the cube. The easiest way to do this is to put the polystyrene on the foam and draw around it with a felt pen.
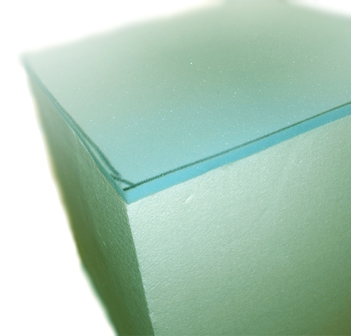
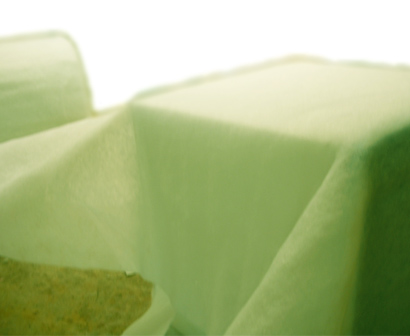
Stick this to the top of the polystyrene using a light spray of adhesive. IMPORTANT NOTE excess spray adhesive will melt the surface of the polystyrene so spray the foam first, and then quickly give a light spray to the top of the polystyrene before sticking the two surfaces together.
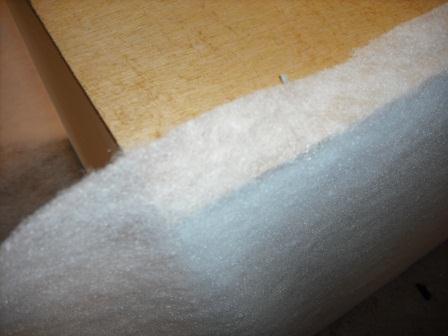
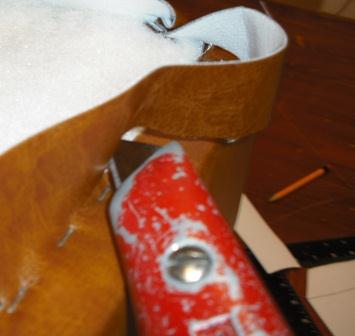
Base Polyester wadding
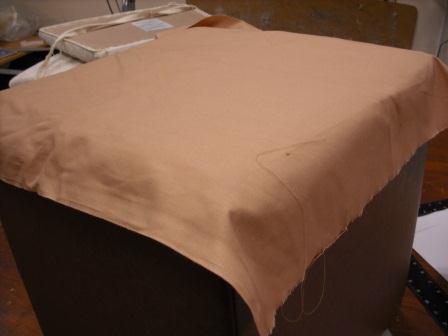
Preparing the cover Marking & cutting out the fabric. Top
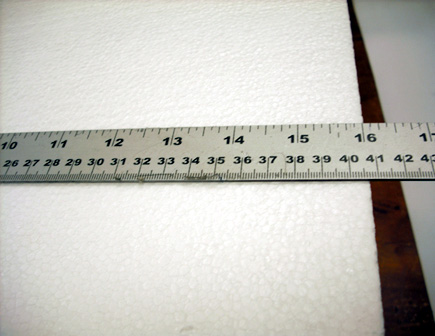
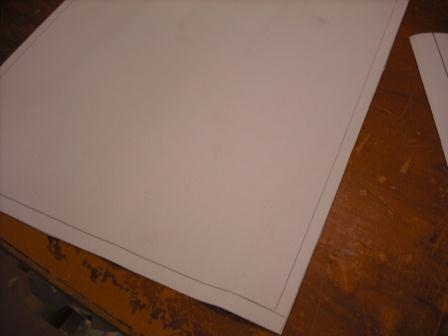
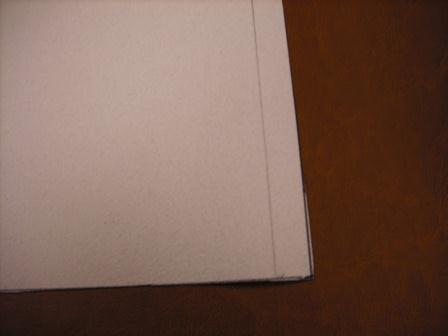
Accurately measure the top of the cube. You will need to add your sewing allowance to the edges so if, (like me) you tend to use imperial measurements and the top of the cube is 16” x 16”, then I would add ½” to each side which would mean you need a piece of fabric which is 17” x 17”. You then need to mark this size on the back of your fabric. As the vinyl I am using has a white back which is easy to draw on with a pencil, I have also marked the sewing line for extra accuracy. Cut this out and lay it on the top of the foam on your footstool. It should hang over all four edges by an equal amount which is where it will be sewn to the side panels. Sides Firstly the width of the panels; you need to add the width of two sides (16” + 16”) to the two sewing allowance’s at either side (½”+ ½”) making a total of 33” The depth (top to bottom) is slightly different in as much as you have to add your sewing allowance at the top ,to join to the top panel, but at the bottom, you need to allow more fabric to staple to the base of the footstool. I suggest 2” (50mm) should be sufficient making a total (½”+16”+2”) of 18½”.
So, mark out the two panels on the reverse side of your fabric. Again I have drawn the sewing lines in as well, and marked (and drawn in pencil) the position of the two corners which are not sewn. This is important because you need to notch the top and bottom of these lines, to help you accurately sew the cover.
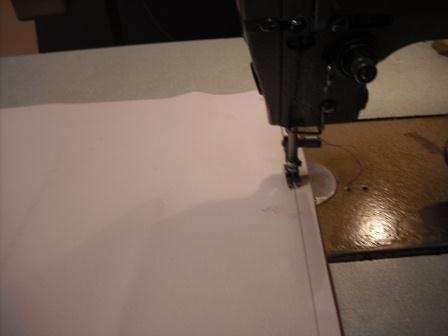
Sewing the cover
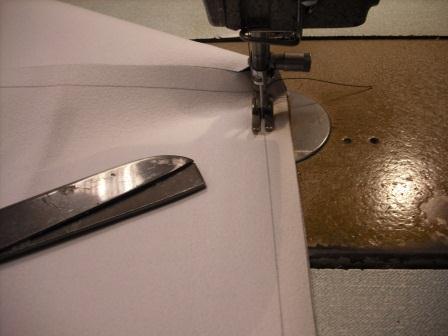
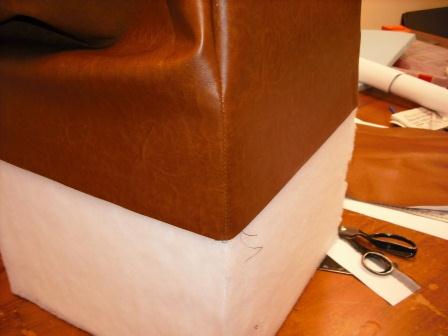
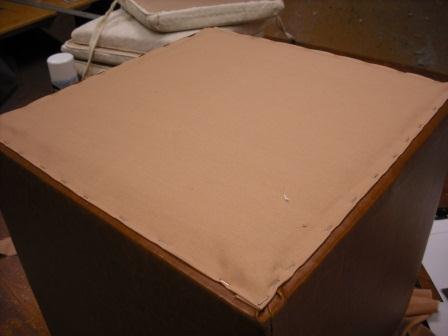
Sew the top panel in place, taking care that the corners (of the top panel) match up with either a seam, or one of your notches you made on the sides.
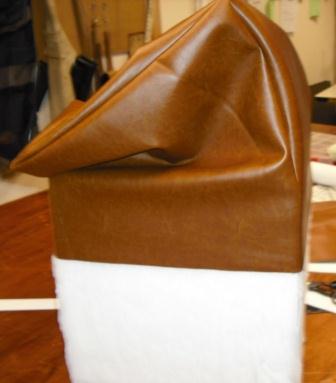
Fitting the cover
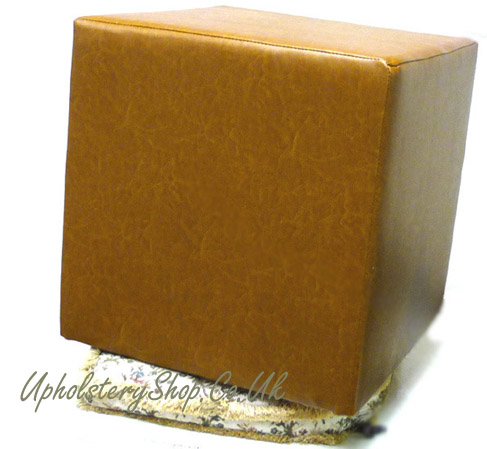
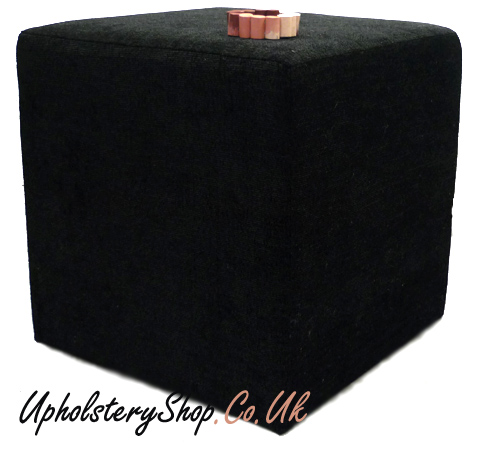
Starting at the corners, tension the fabric by hand and pull it across the base at 45degrees to the edge and staple in place. Repeat with the other corners checking all the time your seams are in line. Once the corners are in place, check again you are happy with the way the cover looks as you can easily take staples out and reposition the cover at this stage.
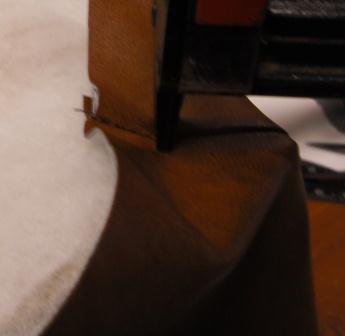
Starting in the centre of one edge, tension the fabric by hand and staple it to the bottom. Repeat on the other three sides. When this is completed and everything looks OK, use a sharp knife and trim the excess fabric away from the base.
Finish the base with cotton platform cloth or similar turning the edges under and tensioning the fabric whilst neatly stapling all the edges.
|
 Description: